The lastest on Karins Kottage
By The Style Sisters - Wednesday, January 17, 2024


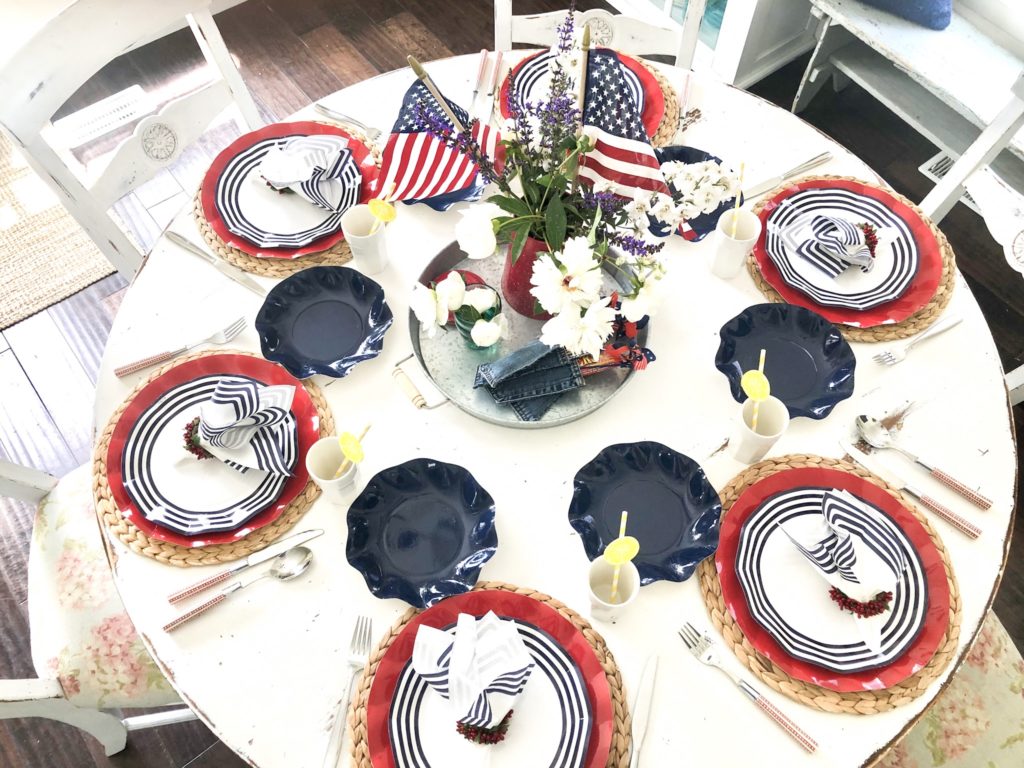
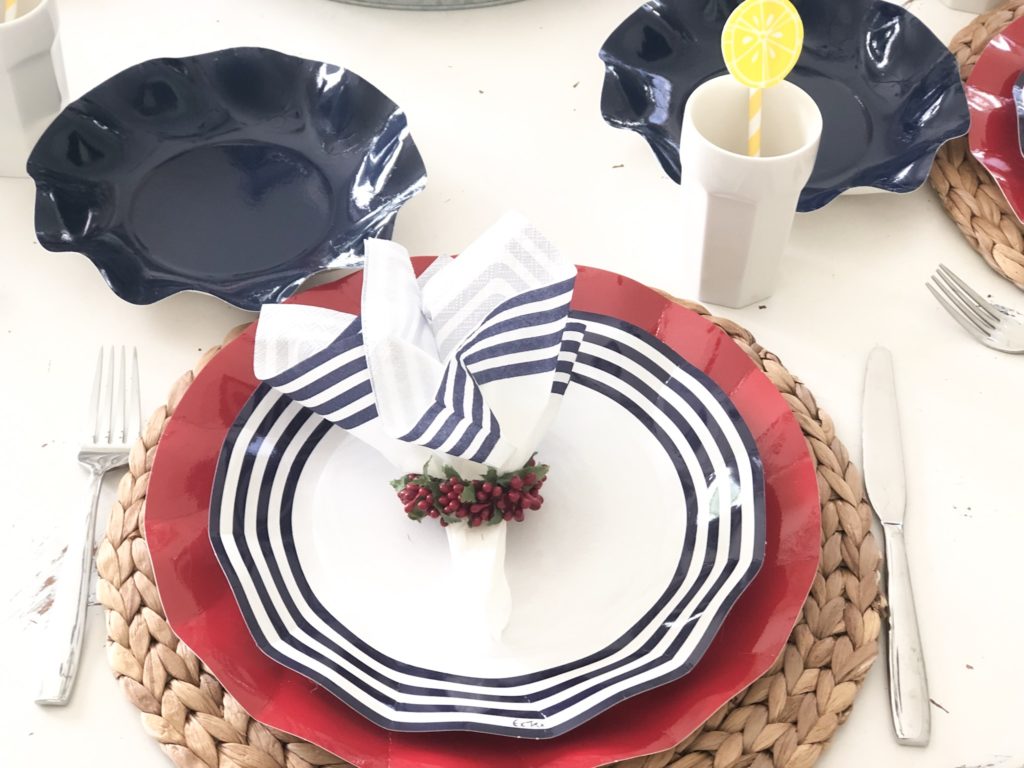
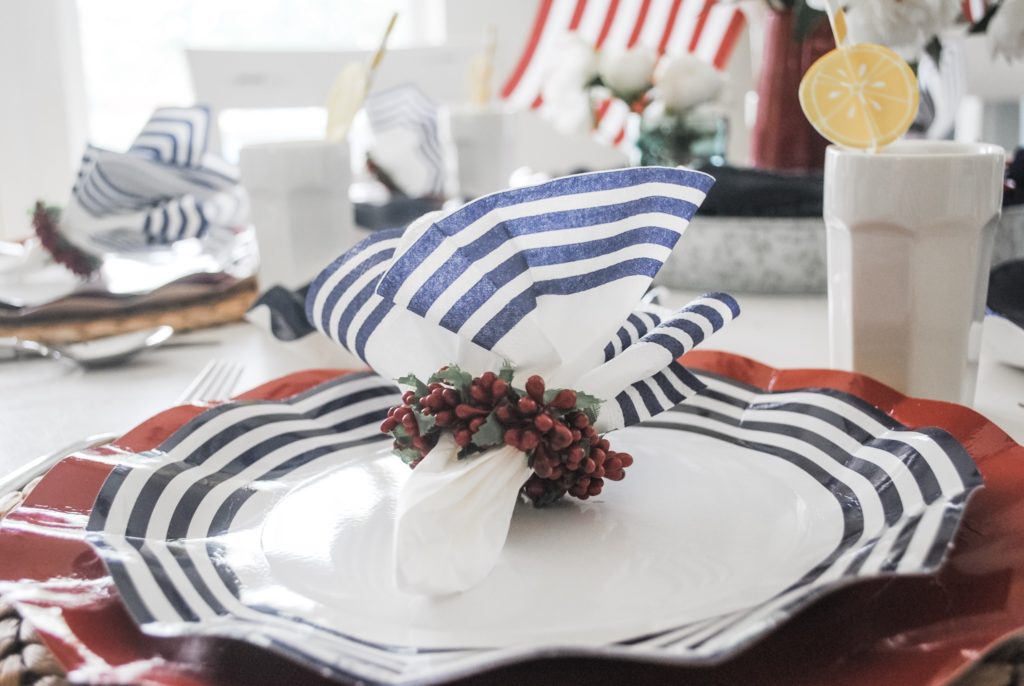
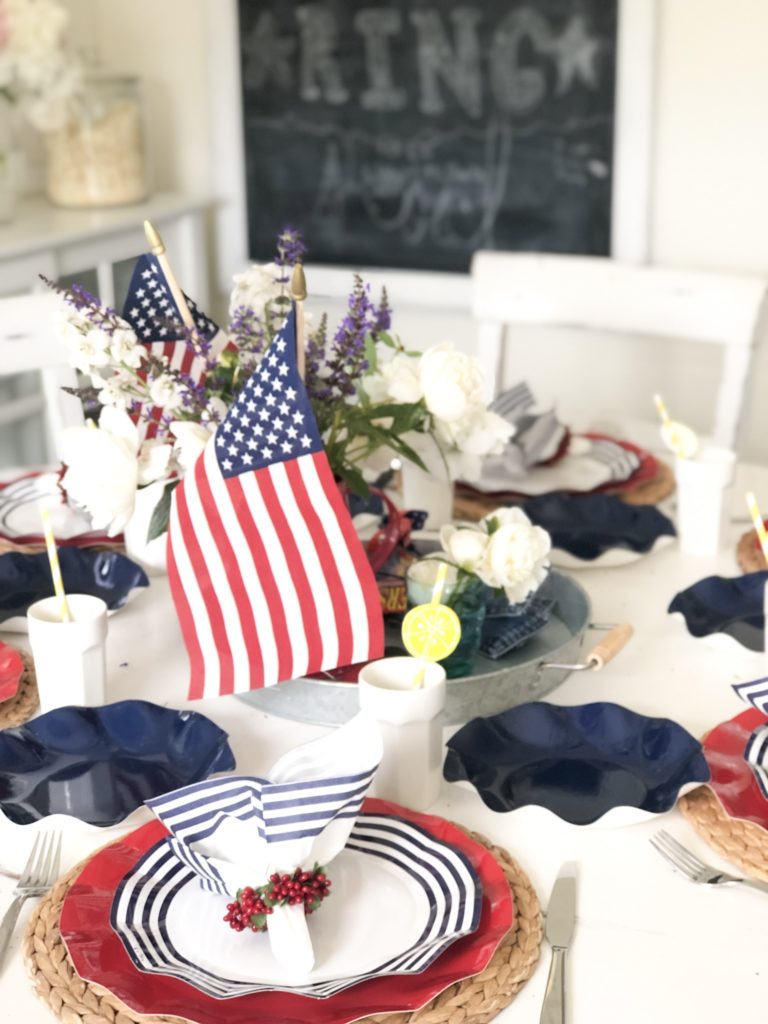
I created another 4th of July Red White and Blue tablescape and it won’t be my last! This time of year I can’t get enough of patriotic themed tablescapes! Red ruffle plates topped with blue and white striped plates.
The best part is they are paper plates!
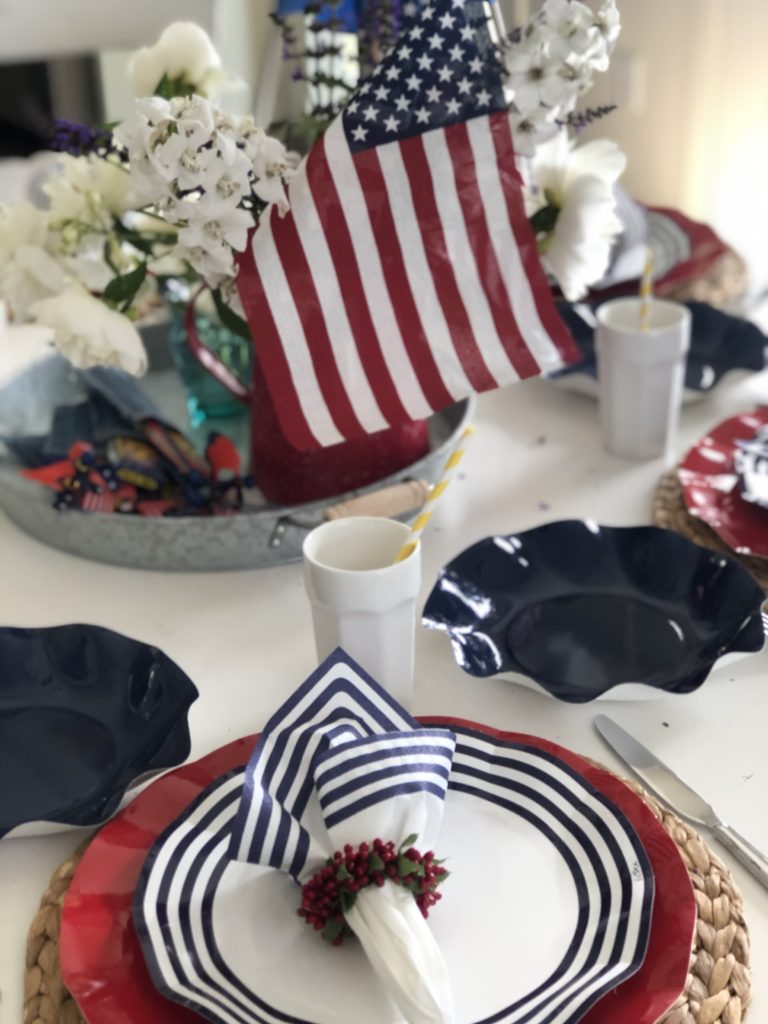
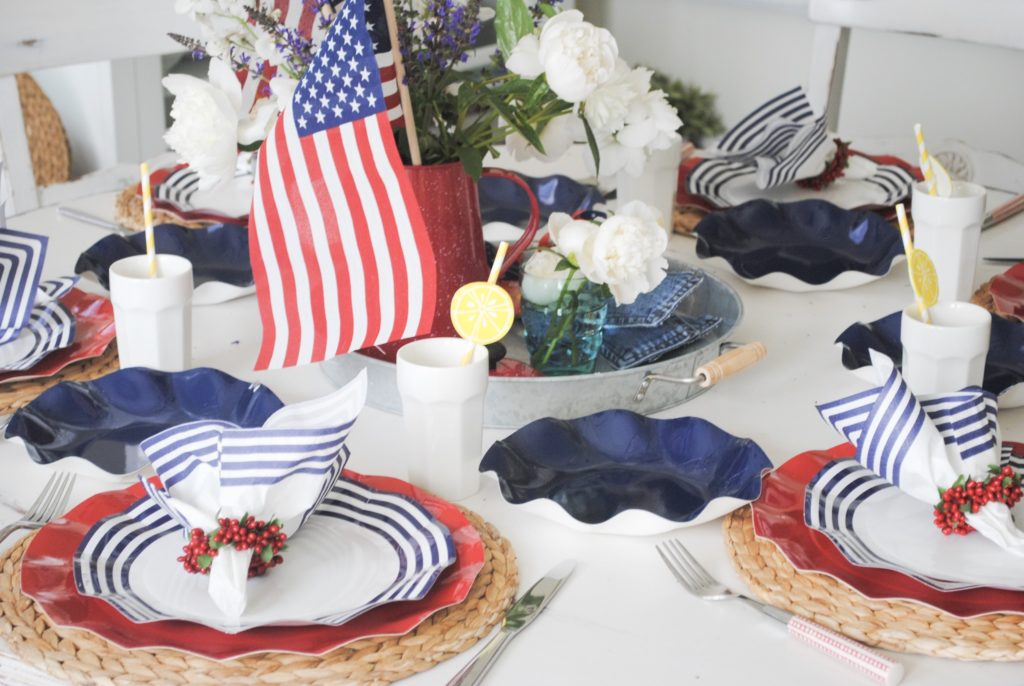
A couple of years ago I bought this red tin coffee pot from Target in the dollar section and I just had to have it. It is so cute and looks perfect for my red white and blue table centerpiece.
It would have been fun if there were mugs to match! Setting the red coffee pot inside one of my round galvanized trays and adding a few flowers makes a pretty centerpiece.
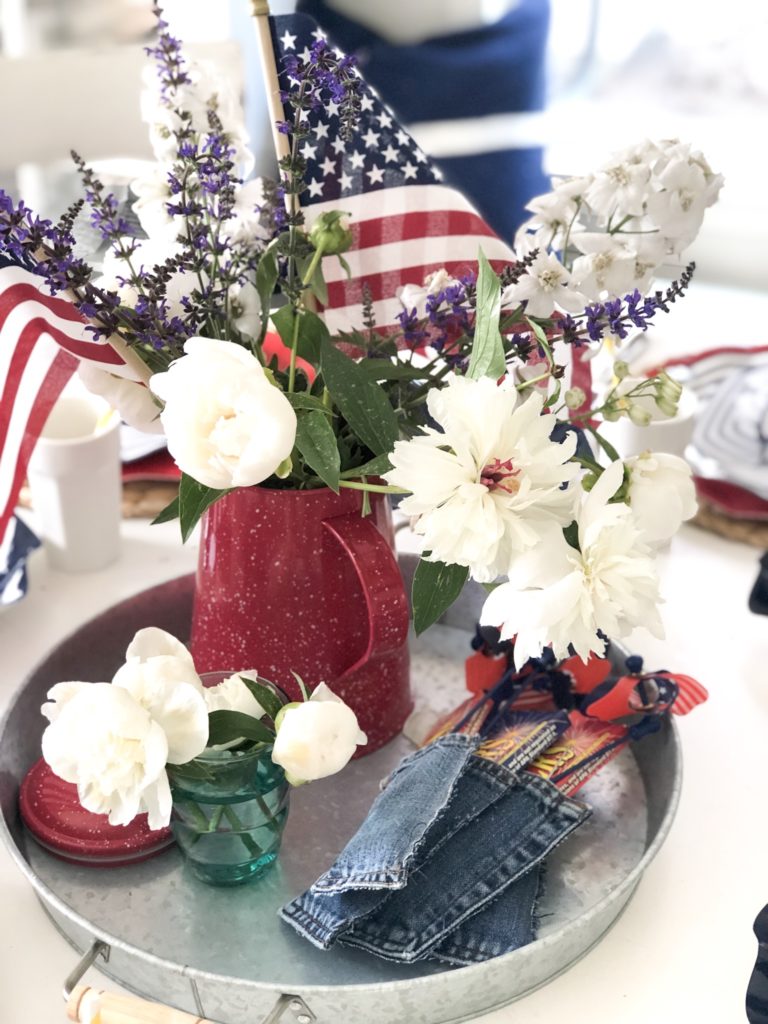
Adding in white and blue flowers from my garden and a couple of American flags and BAM I have a Red White and Blue patriotic look.
So easy and cute!
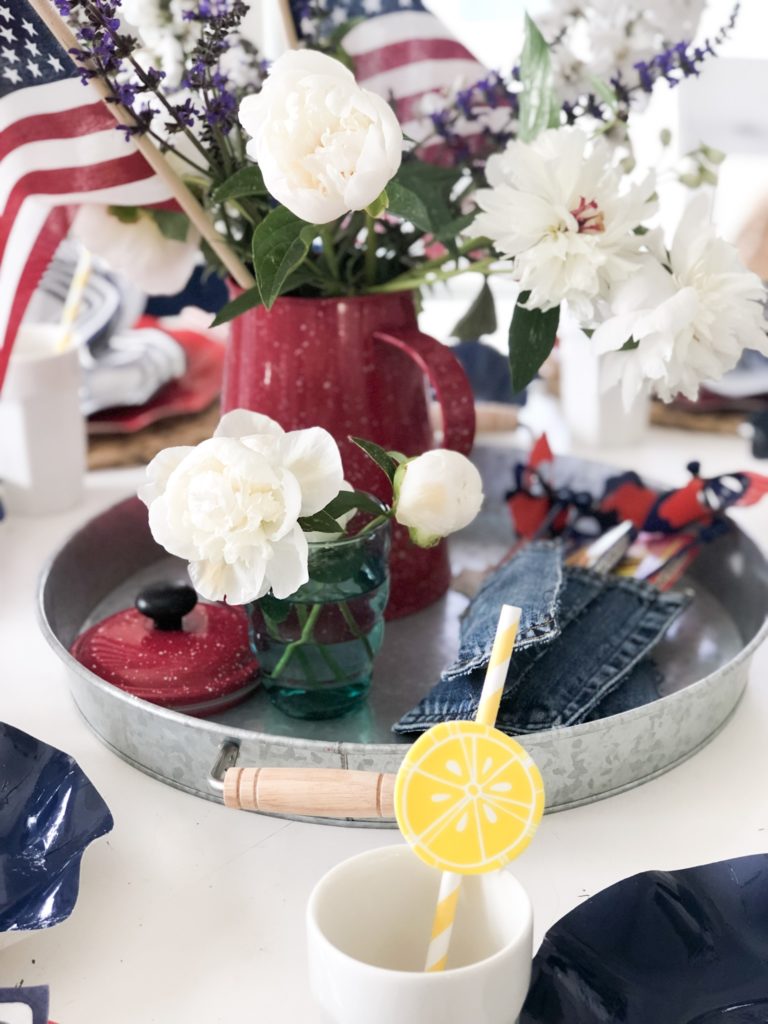
In the round galvanized tray I added in some of DIY denim silverware pockets to hold a box of sparklers and a plastic red white and blue pin wheel for the grandkids.
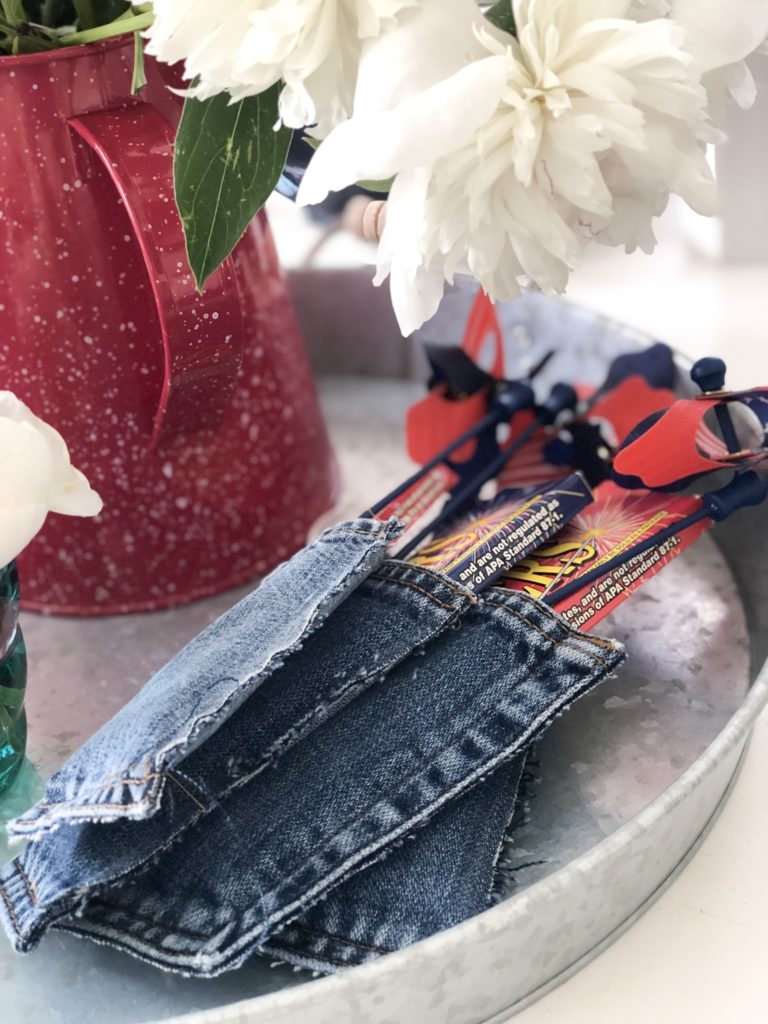
To make the denim silverware pockets cut out two back pockets from some old jeans. Then cut each pocket in half from top to bottom.
Sew up the open sides with double stitching, and apply stop fraying to keep the sewn edge from unraveling.
The bigger the pants the bigger the pockets ;)
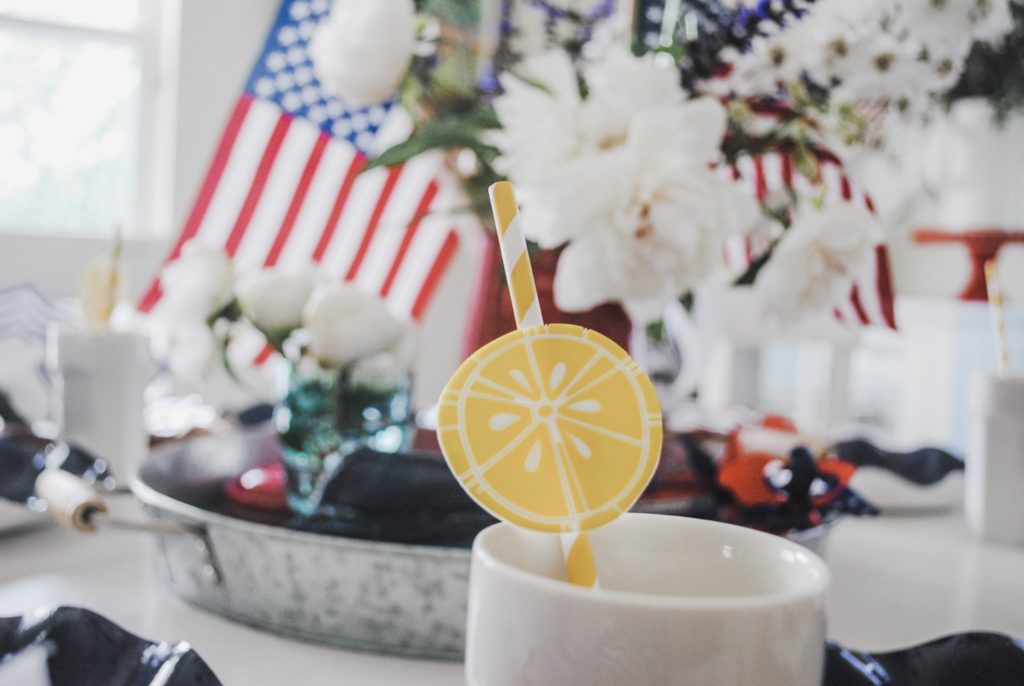
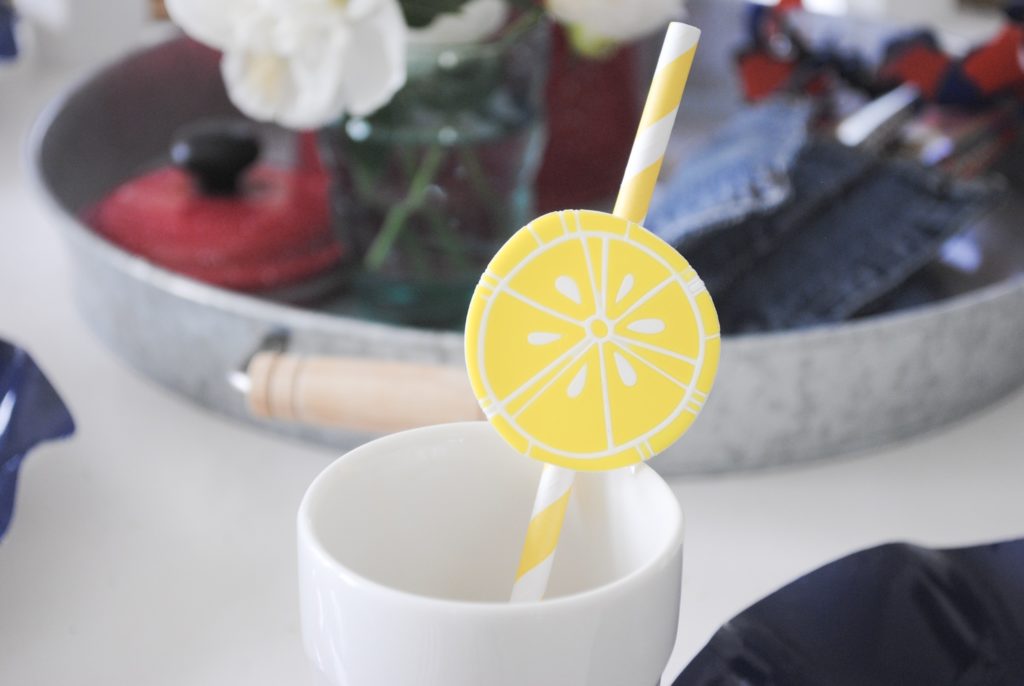
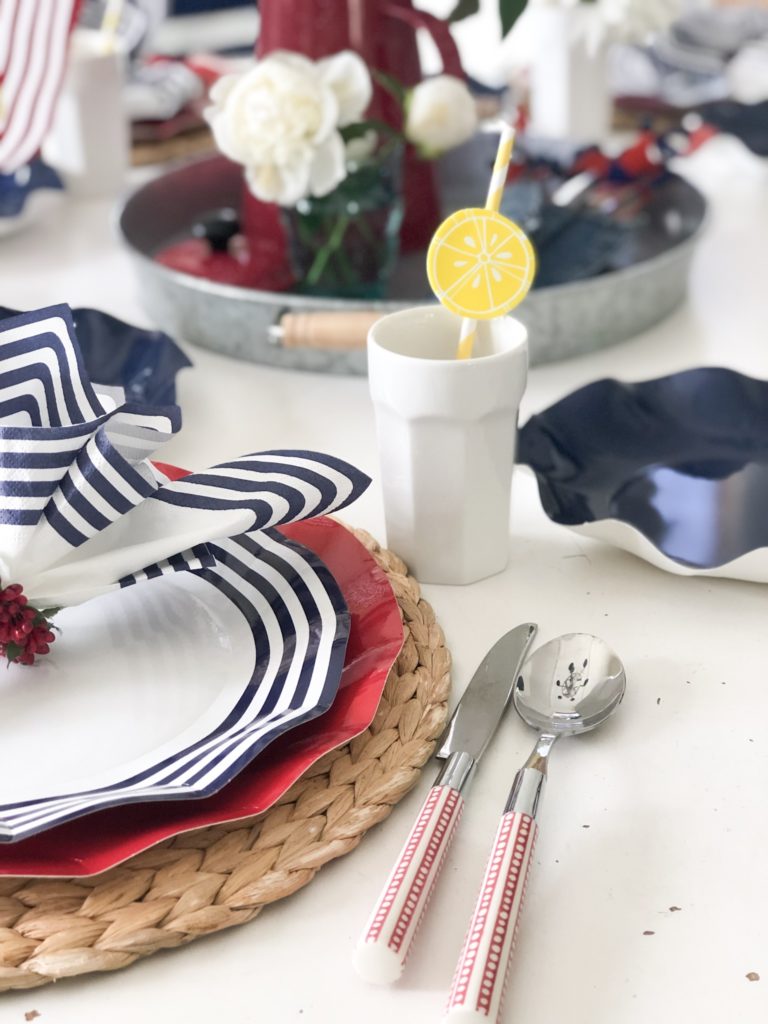
Yellow striped straws just make me think of lazy summer days as a kid sipping lemonade or soda from a glass bottle.
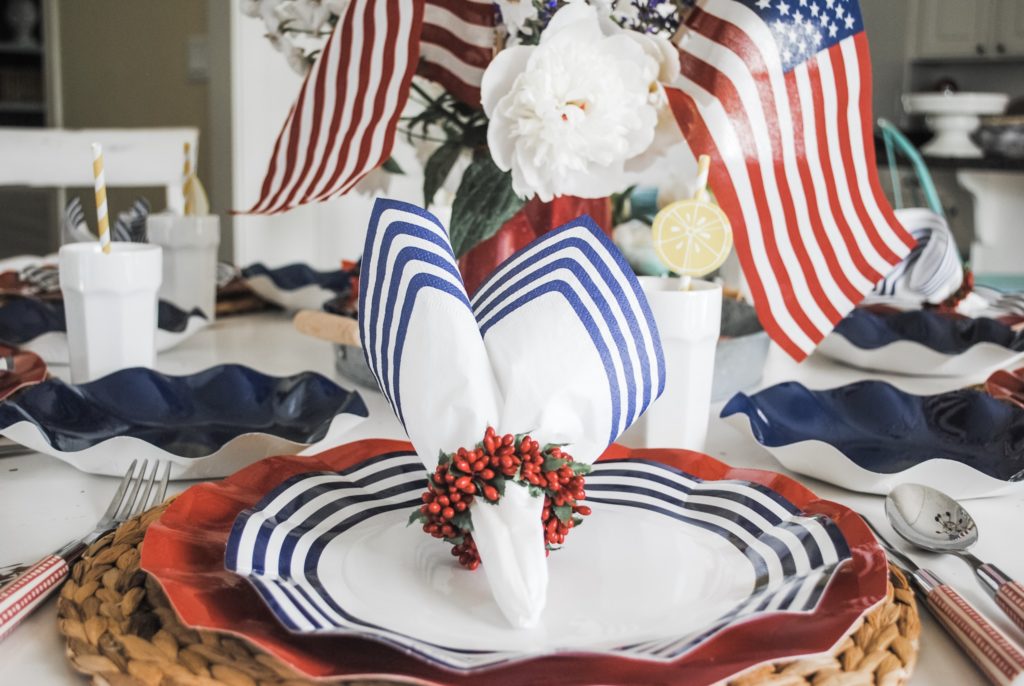
I am totally obsessed with these ruffled paper plates! I bought them from Sophistiplate but they don't carry these particular ones any more.
Looking around I did find some other red white and blue plates that would look cute. You can shop for them at the bottom of the post.
These paper plates look like melamine plastic plates but they are paper!
You might remember my other red white and blue tablescape that I put together here.
These plates are calling my name to order these in every color!! Haha
The matching white and blue striped napkins pulled through my red berry napkin rings just make this patriotic tablescape sing for me!
I’ve used these napkin rings for years now! Remember this French black and tablescape or this pink flamingo one?
I used to sell them on here but I can’t find them any more :(
Can I tell you how much I love these Red and white handled flatware from Pottery Barn?
I purchased them years ago on clearance!
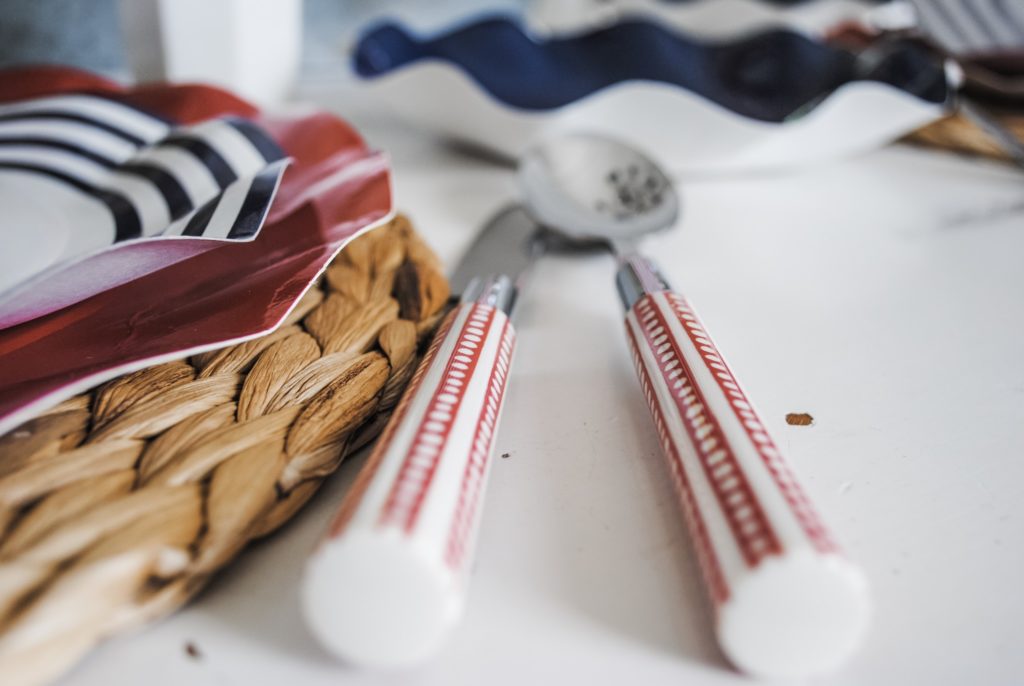
I don’t know why I didn’t buy more than 4 place-settings!
For the 4th of July this year I am praying for perfect weather so I can host this party outside!
Red white and blue NO BAKE trifle

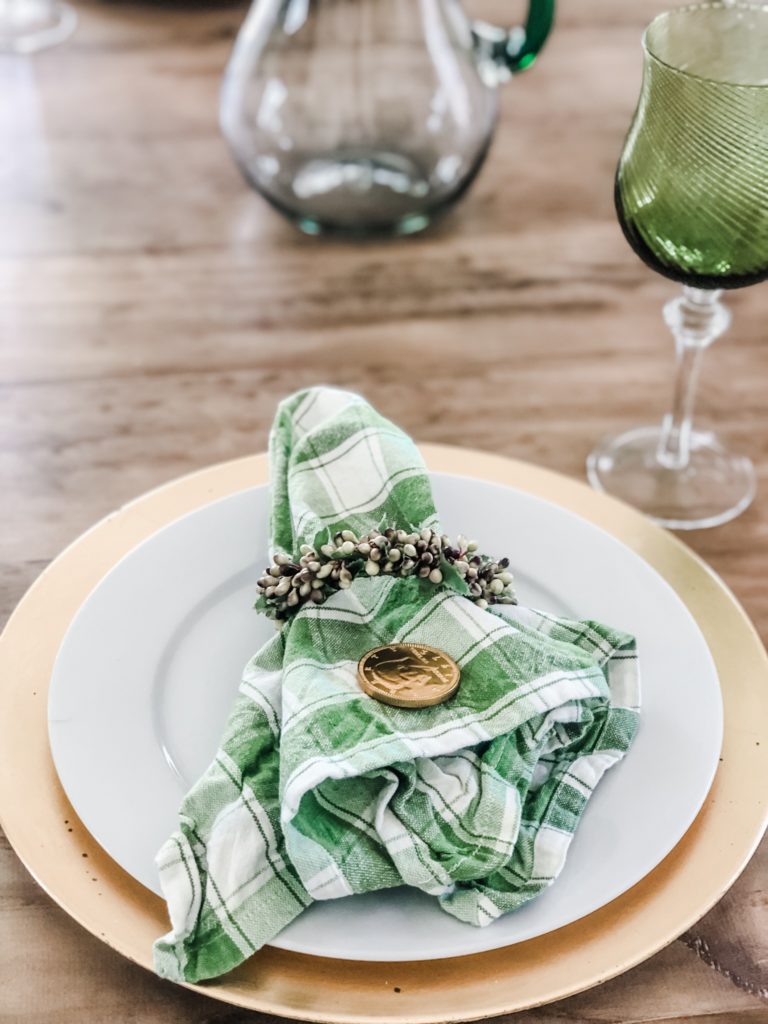
Hi friends! Top O the mornin to ya! I have lots of fun things to share you with this week.
.jpg)


|

|
|
|


I remember years ago looking at home decorating magazines and wishing my house looked like the photos in the magazine or that I could cook up amazing food, have a beautiful garden and be surrounded by family friends just like what they showed...I decided to live out my dreams in my own way!


